Print queue—Retrieve a print job
In Service when you create a print job, it’s held in the queue manager (or spooler). The Queue Manager screen displays the print jobs and information about each job. From this screen you can view, move, and delete jobs. Use the instructions below to retrieve a print job and move it to a local printer.
Go to: Home > Administration Processes > Print Queue > Queue Manager

You can perform the following actions to customize the table's display:
- Filter and Sort the table.
- Create new views from the options menu
 (see Views).
 - Save and remove table formatting from the options menu .
- Export from table or Print from table from the table options menu .
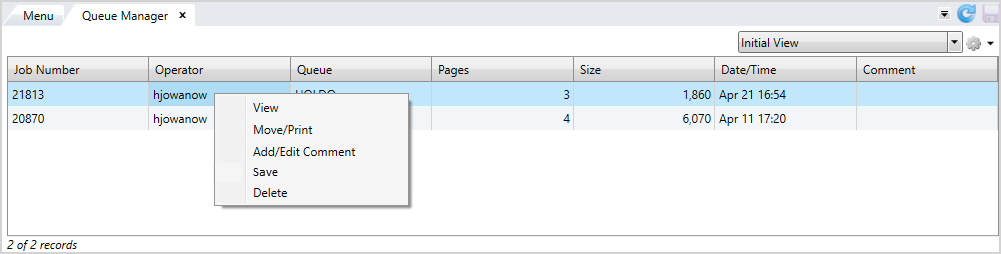
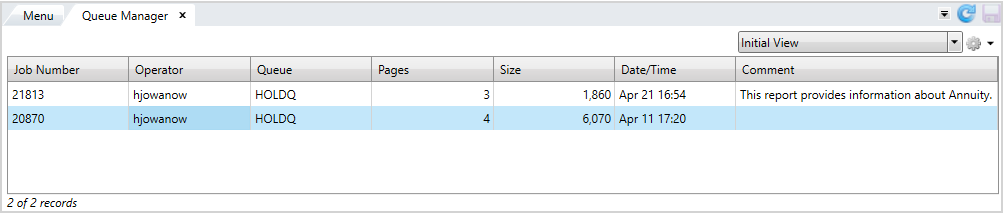
The screen displays the Job Number, the name of the Operator who printed the job, the Queue, the number of Pages, the Size of the job, the Date/Time the job was generated, and an optional comment.
- Select a job from the table or press and hold
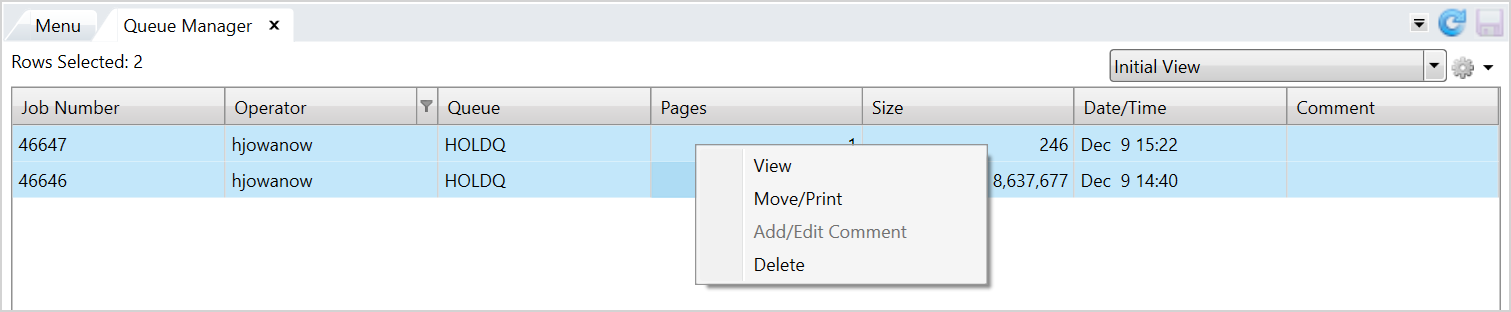
Ctrlto select multiple jobs at once. - Right-click to display the actions you can perform.
- Click
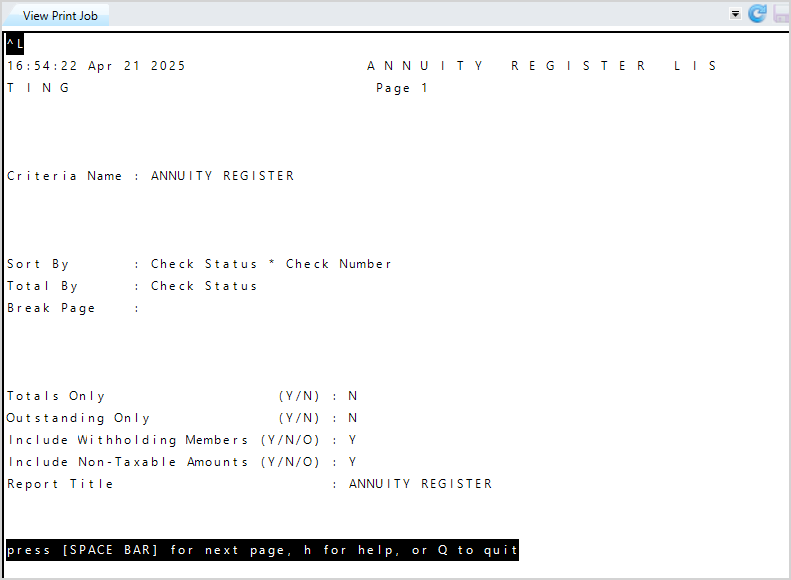
Viewto see the print job information on theView Print Jobscreen. - Press the
Space Barto go to the next page of the job. - Enter
Hto display help options to navigate through the print job. - Enter
Qto exit the screen. - Click
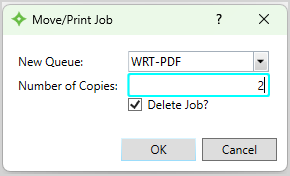
Move/Printto move the job to the selected print queue. - Select the
New Queuewhere you want to move the job. You can keep it in the same queue if desired. - Enter the
Number of Copiesyou want to print. - Check the
Delete Job?check box to delete the job after it prints, or uncheck it to keep the job in the queue. - Click
 to move and print the job, or
  to return to the
 Queue Managerwithout moving or printing the selected job. - Click
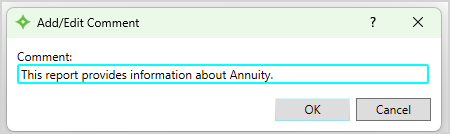
Add/Editcomment to enter a comment for the job. - Enter your comment. You can enter up to 100 characters.
- Click to save your comment, or to return to the
Queue Managerwithout saving. - You can edit a previously entered comment if desired.
- Click
Saveto save the print job to a local folder. - Check the
Delete Job?check box to delete the job after saving, or uncheck it to keep the job in the queue. - Click to save the job, or to return to the
Queue Managerwithout saving the selected job. - Choose where to save the document and rename the job if needed.
- Click
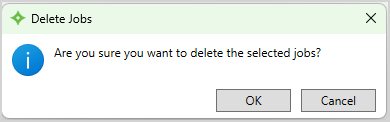
Deleteto delete the job from theQueue Manager. - At the message, click to delete the job or to return to the
Queue Manager. - If you selected , the job is deleted from the queue.
- If you select multiple jobs in the
Queue Manager, the number of rows you chose displays inRows Selected. You can perform theView,Move/Print, andDeleteactions on multiple rows selected at once.